Results matching “thumb”

Hub Lifting - SttB Articles

Hub Lift
Hub Lift.
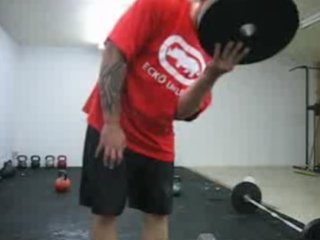
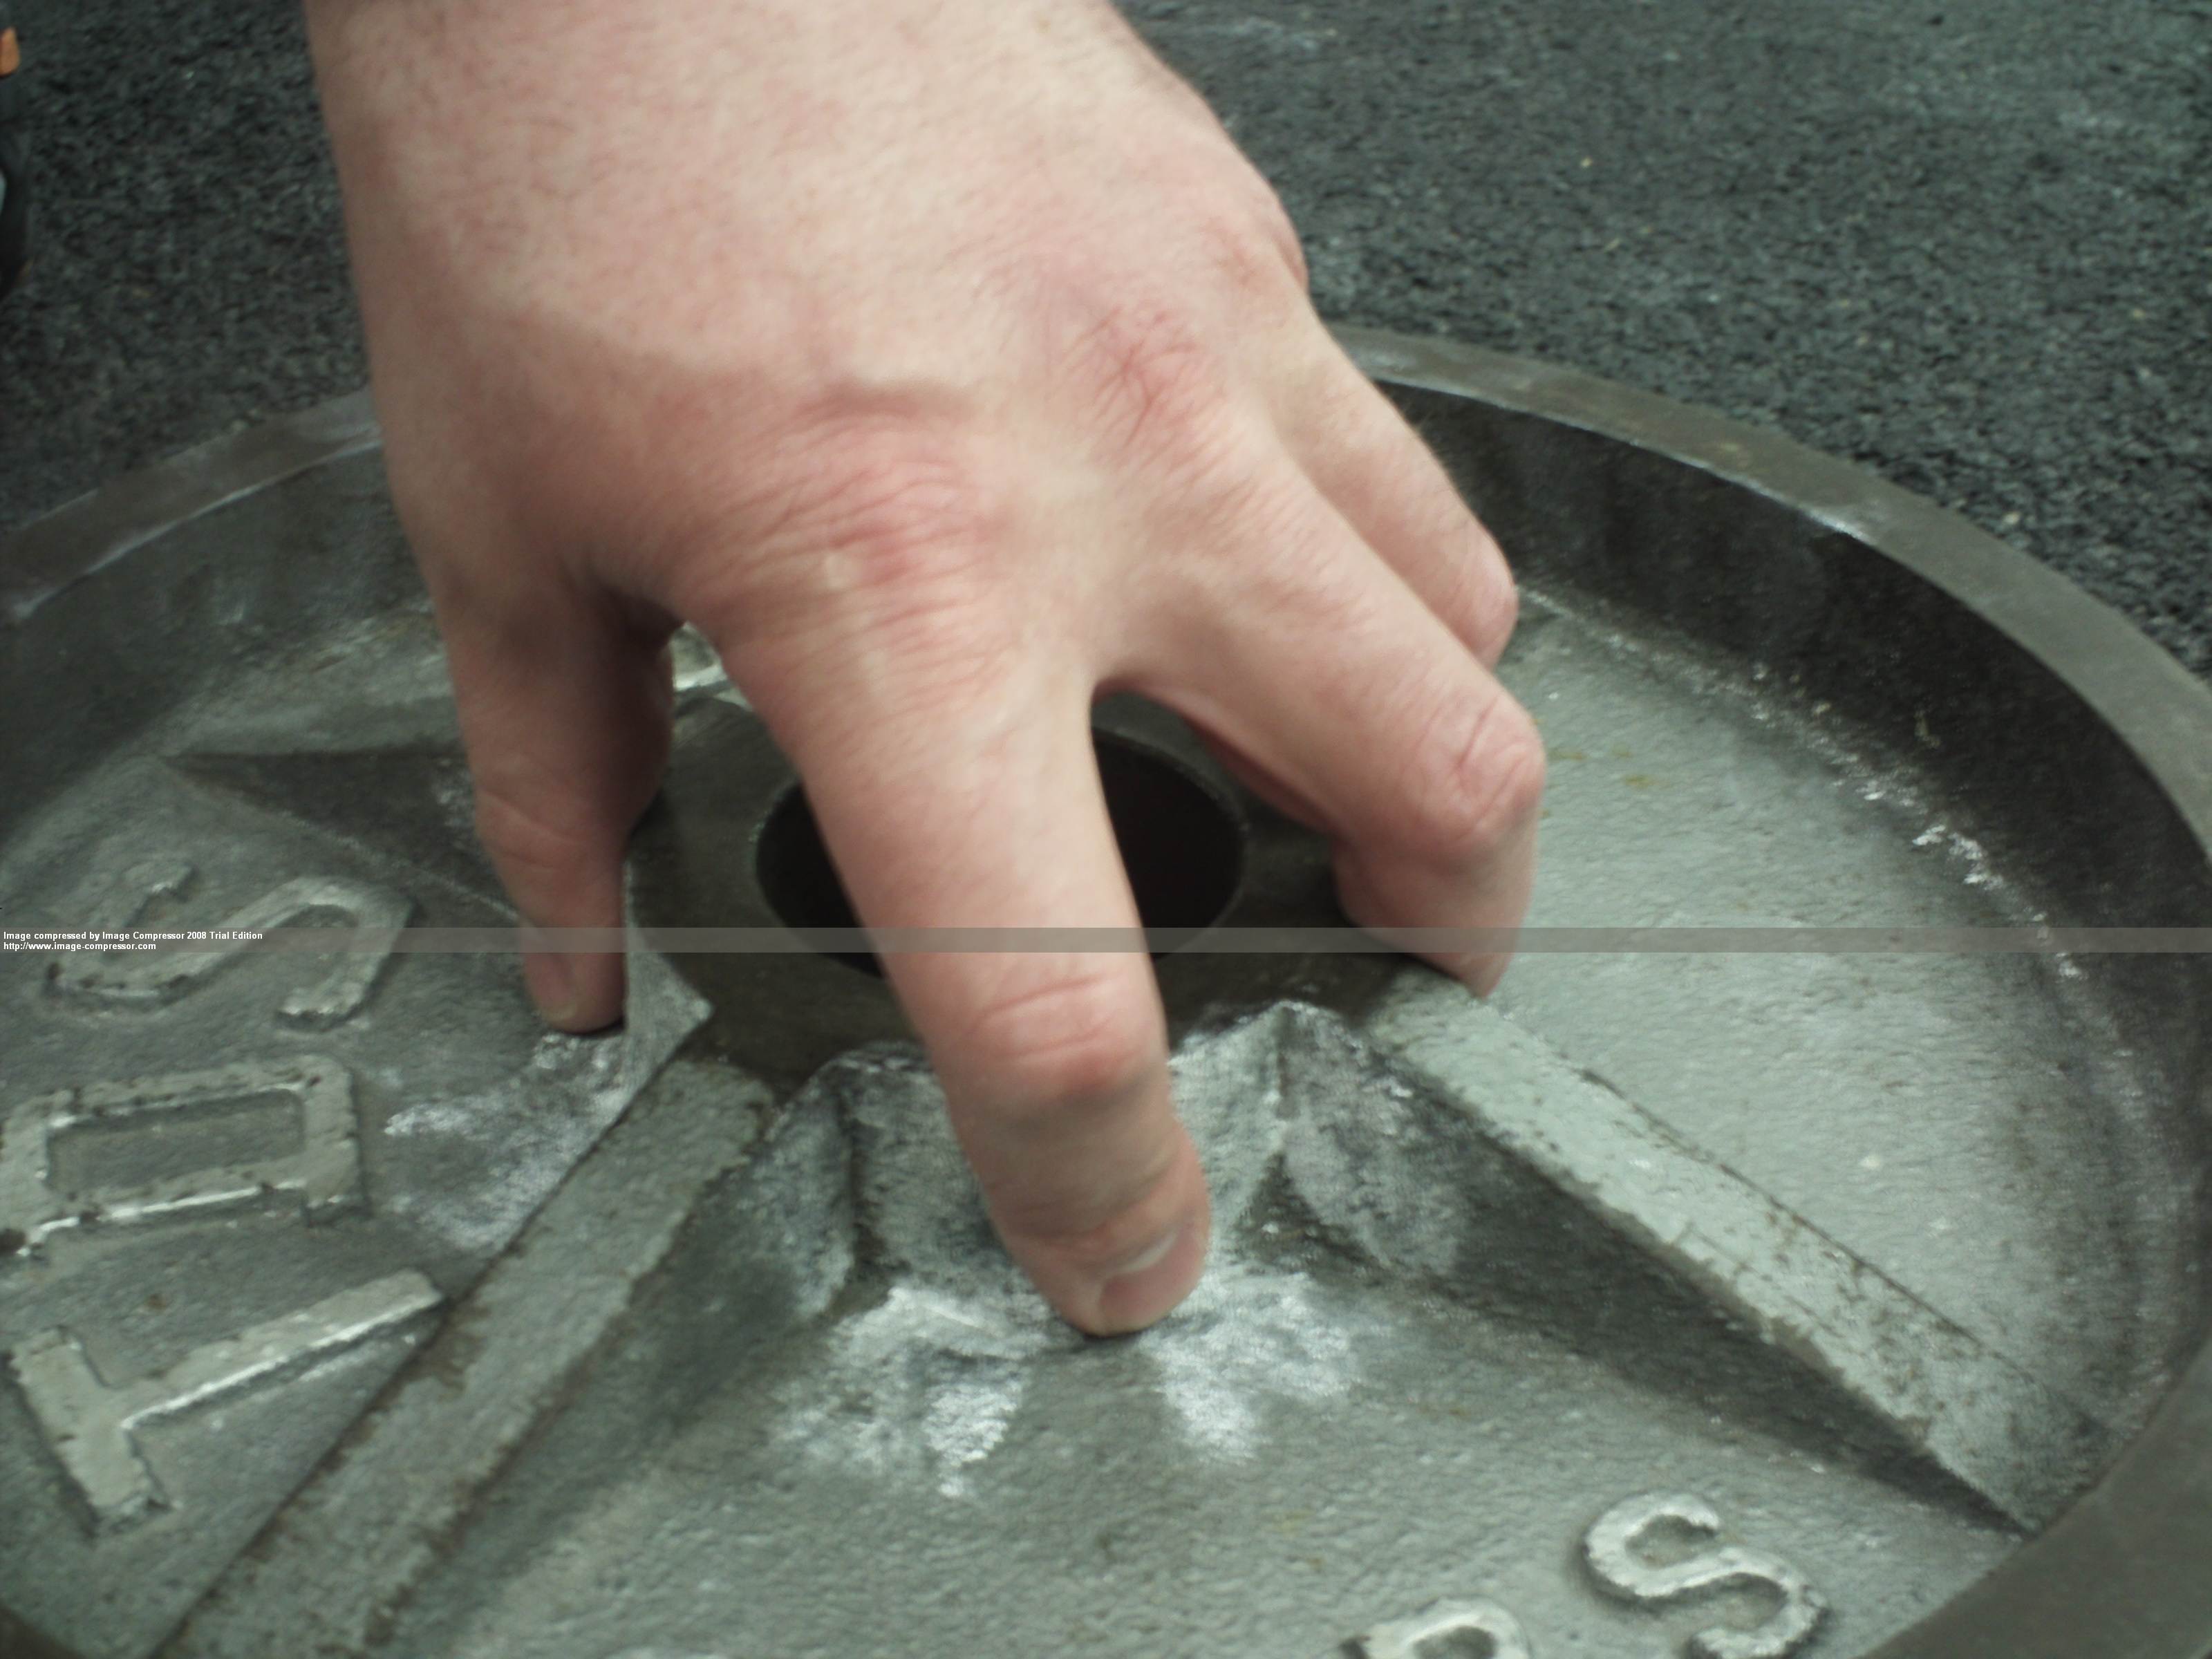
Hub lifting is a form of pinch grip training. The hub, or the center of the weight plate, is the spot upon which you will do all your lifting when hub training. This can be a very inexpensive form of grip training, especially if you already own lifting plates that have a decent hub on them. It can also be a very expensive form of grip training, if you try to find some of the rarer types of plates that exist for hub lifting.
Before we get into too much detail about the many types of hubs that exist, it is important to understand a few things about hub lifting. Since this is a form of pinch grip training, it focuses on the development and display of thumb strength - the strength of the thumb will be the limiting factor in completing a hub lift. It is said that you have fully lifted a hub when you pinch the plate or other hub device and then lift it so that you stand in a fully upright position. Breaking the object off the floor only slightly or pulling it a few inches from the floor does not constitute a full lift. You must be able to control it long enough to reach the locked out position.

While many grip strength feats are easier for those with larger hands to perform, hub lifting might just be one of the feats that is easier for the smaller handed athlete to perform. I believe this to be so because the smaller handed individual is able to grasp the hub implement closer to the center of the hand. When a larger handed individual takes a grip on a hub, much of the hand will fail to come in contact with any of the gripping surface of the hub, so leverage and mechanical advantage is decreased. This bottoming out effect is caused by the fingertips hitting against the flat surface of the plate.
Rack-Mounted Wrist Roller
Rack-Mounted Wrist Roller.
The Wrist-Roller is a classic piece of gym equipment, and rightfully so - it's a great way to strengthen and develop the muscles of the hand, wrist and forearm. The standard model of Wrist-roller involves a short bar connected to a rope or cord, which attaches to the weight. The bar is held either in front of the user - which usually results in the shoulders tiring long before the forearms and wrist - or with arms straight down whilst standing on benches or boxes to allow the rope to hang down. The problem with the 'free-standing' design is that you have to support the bar throughout the set, severely limiting the weight that can be used, as well as leaving the forearms under worked.

In the last few years the 'mounted' wrist-roller has appeared and offers a solution. Usually consisting of a bar which can slide over a barbell or a pin in a power-rack, it takes out the supporting element of wrist-rolling and lets you really hammer your lower arms.

The downside? Cost.

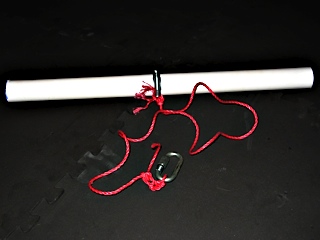
This doesn't have to be a problem though - here's a guide to making your very own power-rack mounted wrist-roller:

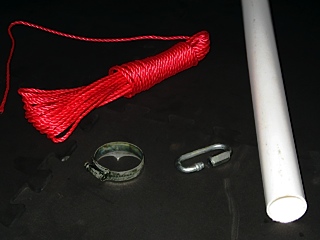
What you'll need :

Wrist Roller Parts
Wrist Roller Parts.
  • PVC pipe (any diameter)
  • Hose clamp (to fit PVC pipe)
  • Rope/Cord (4 - 5 feet)
  • Carabiner or Quick-Link Connector
  • Hack Saw to cut PVC pipe
  • Loading Pin (optional)

    • Step-by Step :

      1. The first thing you'll need to do is measure the space in which the roller will be used. The PVC pipe should be cut slightly shorter than the space so it fits without getting stuck - a one or two inch gap each side will be plenty.
      2. Next you will slide the hose clamp into the middle of the pipe and thread about 6" of your rope or cord between the hose clamp and the PVC. Tighten up the hose clamp then tie a couple of knots in the cord for a bit of extra security.
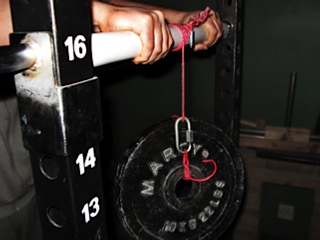
      3. Completed wrist roller
        Completed wrist roller.
      4. The rope should be cut to about 4 or 5 feet and the end will be knotted securely around the carabiner or quick-link connector (pictured).
      5. Hold the pipe between the uprights in the power-rack and slide the pin through. You can vary the height you use to hit the lower arms differently - somewhere around chest height is probably the strongest position.
      6. Attach weight by running the carabiner through the hole of a weight plate or the handle of a kettlebell and snapping it over the other side of the rope. You could also attach the connector to a loading pin for even quicker weight change.
      7. Now you can roll away until your forearms are on fire - and when you're done just detach the weight, slide out the pin and throw the roller in your gym bag!

One-Handed Weighted Bar Hang - SttB Articles

UPDATE 31/07/11 : The video below was available when this post was written, but has since been taken down.

Apologies for that.

If you want to make sure you're always kept in the loop when we put new content on this site, subscribe to the RSS feed or grab the weekly Strength & Fitness Newsletter.

cheers,

Scott


Mike 'The Machine' Bruce demonstrates one of the exercises leading up to things like the Weighted Climbers' Chins he discussed recently - the One-Handed Weighted Bar Hang. Good fun.

Shot
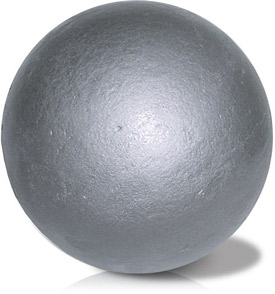
20-lb Shot Put
Much of what I have written about on Straight to the Bar about Grip training has had to do with static grip strength, especially my article series on training to lift the Inch Replica Dumbbell, and some of my pinching articles. While static grip strength training is effective, it is sometimes fun to employ some dynamic grip strength training as well.
One way that we recently trained for dynamic grip strength is by tossing a 20-lb shot. We have a few different shots. Some are smaller and lighter; we use them in pairs, rotating them for hand health purposes. However, on this day we tossed the shot around in various manners to work the forearms, hands, fingers and thumbs dynamically.

The 20-lb shot is the perfect size because it is not too large for an individual with small hands and not too small for an individual with large hands. It is a comfortable size for just about anybody.

There are several ways you can toss the shot in order to train the hands and forearms from a variety of angles. Here are a few to try.

Fingertip Tossing for Height

JeddTossShot_0003.jpg
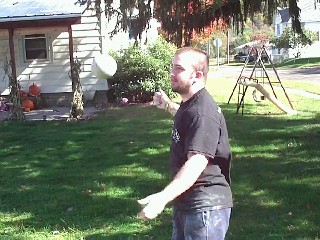
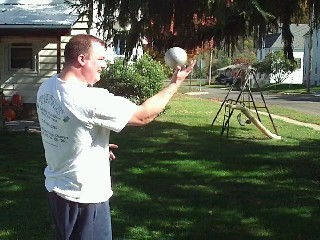
Fingertip Toss
With this technique, the shot is tossed straight up in the air and caught in the same hand. What I tried to concentrate on was generating as much power as possible with my finger tips. You could almost hear the shot flick off the ends of my fingers. There are not many grip strength exercises that work the ends of the fingers dynamically like this.

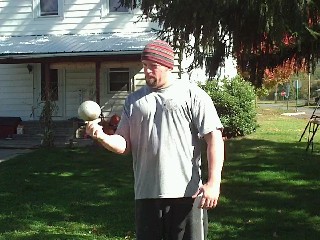
Fingertip Tossing for Spin

Brad was also able to produce quite a bit of power through his fingertips when he was flipping the shot as well. The difference was that he concentrated on making the shot spin very fast with each toss.

BradShot_0001.jpg
Switching Hands
Brad also began tossing the shot from one hand to another with this tight spin technique he was using. Changing hands in this manner also had another interesting benefit, stimulating the core, shoulders, and arms. I think this type of shot toss would be excellent for an upper body and core warm-up drill.

Palm Tossing for Forearm and Bicep Emphasis

SmittyShot_0003.jpg
Palm Tossing
Smitty also came up with several variations. First, he showed the palm toss. By keeping the shot centered in his hand, he shifted the emphasis of the movement back toward the forearm and bicep. In the image, you can see that Smitty was releasing the shot slightly above shoulder height. Shoulder flexion is important to this movement and again shows the multiple benefits of shot tossing.

Extended Lever Block - SttB Articles


Adam demonstrates his new weapon of choice, the custom Extended Lever Block from StrongerGrip. Looks great.

Mighty Joe Musselwhite
Thought I would share with you an experiment I've been doing for the last 5 weeks to get larger forearms.
I gained a 1/2" in less than 5 weeks. Here's what you need:
  • Regular barbell 1" shaft
  • Thick barbell 2" - 21/2" works well (If you don't have a thick bar, the regular will work)
  • Hercules Bar from "Ultimate Arm Wrestling" (again, if you don't have one of these, the regular bar will work)
Here's what you do:
  1. Load enough weight on the barbell to get at least 20 reps in a standing barbell wrist curl.

    Your palms should face your body and don't wrap your thumb around the bar.

    Now, start doing wrist curls. Use only your wrist and try not to raise your arms as you do reps. The last rep should have the belly of your forearm on fire.


  2. Immediately without rest, grab your Hercules Bar or regular bar loaded with enough weight to again get at least 20 reps and do sitting reverse wrist curls. Again, use only your wrist. If you're having to swing the reps, lower the weight. The last rep should have the top part of your forearm on fire.

    Do 5 sets of 20 reps everyday except weekends. In 4 to 5 weeks you'll gain at least a 1/2" in your forearms, possibly more.

    Rest less than a minute between sets.

    After you've completed 5 sets of each, stand with your arms straight out and open and close your hands as fast as possible for 90 seconds. You're done! Now you're on your way to larger forearms. Promise!


A great week here on Straight to the Bar. The highlights :
Tearing cards
Completed tear.
Note : I am left-handed, so you will reverse the directions if you are a righty.

The Technique :

  1. Hold it firmly
    Hold it firmly.
    Hold the deck firmly with your weak hand (right side shown for me) with the deck firmly and horizontal to the floor.
  2. Pinch the deck
    Pinch the deck.
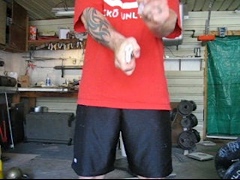
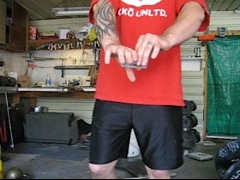
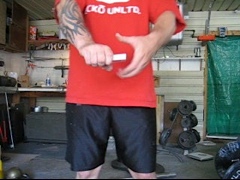
    Pinch the deck with the strong hand with the thumb and index finger. It's the same grip you use to use a remote control.
  3. Pull towards your chest
    Pull towards your chest.
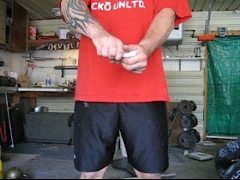
    Pull your strong hand (pinch side) towards your chest. The index finger splits the deck. You must pinch hard!
  4. Turn your weak hand towards the floor
    Turn your weak hand towards the floor.
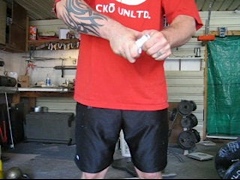
    Continue to pull hand towards your chest, turn your weak hand towards the floor. The deck will rip - not twist - if you have a tight grip. The tear line will be clean.
  5. Separate the deck
    Separate the deck.
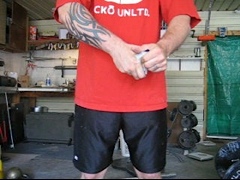
    Continue to pinch the deck hard and pull back towards your chest until you separate the deck. The line will be a clean cut right through the deck. With this method you can put the cut anywhere you want on the deck.
Plate Curl
Adam demonstrating the Plate Curl.
Productive strength training is similar to the process of forging steel Japanese katanas. The steel is heated in an extremely hot fire and beat upon with a heavy hammer, folded over and over upon its self. The steel is folded and heated so many times over that the entire structure of the steel changes. It becomes light weight, extremely durable, flexible to stress and able to hold the sharpest edge.
Japanese steel blades were considered the finest weapons of the middle ages, able to sever the wielders' opponents with a single swipe of their razor sharp blades. So finely crafted are these blades that many have held an edge for hundreds of years.

There are structures in the body that can be honed to the point where their edge will never fail you. I am referring to the tendons of the wrist; responsible for incredible power in the lower arms. Once these tendons are built, they will last a life time. A great example; look at the forearms of any man who labored his whole life. In his 70's or 80's, his shoulders and back may appear frail, but those wrist tendons are still popping out like steel cables. The most shining example can be found on the powerful frame of Lawrence "Slim" Farman, known to the world as "Slim the Hammerman". King of leverage lifting, he is still performing in his 70's and he is AMAZING. Slim's tendons are massive, built from a life time of demolishing stones with a 16lbs cutting sledge, and a million hours of intense steel bending and hammer levering workouts.

I am not going to promise you the Hammerman's strength from taking on this material, but I will put money on stronger hands and forearms from these investments.

Tearing A License Plate - SttB Articles

Tear it up
Tear it up.
First off let's talk about safety, as this is a primary concern when dealing with a feat such as this. The potential for serious injury surrounds this feat - I speak from first hand experience. The most severe injury I have sustained thus far from tearing a plate is a cut which ran from just below my pinky finger all the way to my elbow.
When attempting this, it is essential to take proper precautions to protect yourself. First, you'll want to get a pair of heavy suede work gloves with an extended cuff. As the tear is initiated, the sides of the hand and the wrist are extremely vulnerable to being sliced with the sharp, jagged edge of the plate. Second, it is highly advisable to wear a some sort of long sleeve work shirt or jacket that is constructed of a cut resistant material. If something does not go as expected, the arms can receive a nasty slash as you "drive" through to complete the tear. Next, you will want to clean the plate. Foreign matter such as oil residue, mud, and even light accumulation of "road dirt" can make for a more slippery surface and add a higher potential for injury.

Now that we have ourselves protected, it's time to grab the plate. I personally like to tear plates at chest level, and that is the method I am going to discuss. As a dry run without a plate, place your dominant hand in a hammer style grip. Place the pinky side of that hand just above the bottom of the sternum. Now place the other fist in the same manner below the dominant one so you have the thumb side of the non-dominant and the pinky side of the dominant meeting. Squeeze as hard as you can and push your hands in opposite directions with the top hand going slightly upward and the bottom hand going slightly downward. If you push straight through, the potential for being cut dramatically increases.

  1 2 3 4 5 6 7 8 9 10 11 12 13 14 15 16 17 18 19 20 21 22 23 24 25 26 27  

Pages

Powered by Movable Type 5.2.7